As Microsoft Fabric is quickly becoming the go–to unified analytics platform, implementing a CI/CD (Continuous Integration and Continuous Deployment) process becomes essential for managing complex data solutions at scale. CI/CD helps teams automate deployments, maintain version control, and ensure consistency across development and production environments.
However, managing deployments across Dataflows, Lakehouses, Pipelines, Notebooks, and Power BI reports can get messy. In this article we’ll walk through a step–by–step guide to building a practical CI/CD workflow in Microsoft Fabric using tools like Azure DevOps, and Fabric CI/CD Python library.
Whether you’re a data engineer, BI developer, or architect, this guide will help you automate and streamline Fabric deployments with confidence.
Setting Up Source Control in Microsoft Fabric with Azure DevOps
In this demo we will use Azure DevOps Git repository for source control. Working with Azure DevOps requires to have an “Organization”. We already have a DevOps organization named “DataCraftersPOC” (You need to create one first if you don’t have).
Create a Project in Azure DevOps
To create a project, we will get into the “Projects” section of the DevOps organization. From here we will click on the “+New project” button.

This will open the following window.
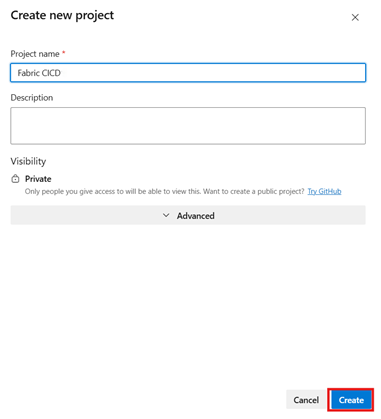
Here, we will give the name of the project. Let’s name it as “Fabric CICD” and click on the “Create” button.
We will now create a new repository named “Fabric CICD” in the project. We will have a default branch named “main”.
But we don’t want to commit our changes directly to the main branch. That’s why we will create a development branch named “develop” based on the main branch. This “develop” branch is supposed to be added to the development workspace in Microsoft Fabric.
Create Workspaces in Microsoft Fabric for CI/CD
In an ideal development environment, we typically have three workspaces dedicated to development, testing, and production. In this blog, for simplicity, we would like to have development, and production workspaces only.
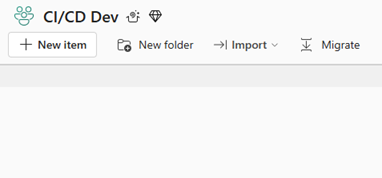
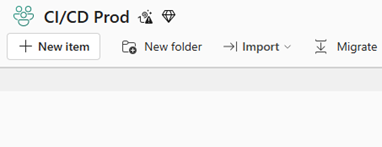
Let’s create two workspaces named as “CI/CD Dev” (For development), and “CI/CD Prod” (For production).
Adding the Azure DevOps Project to the Fabric Workspace
Now that we have both Azure DevOps repository and Fabric workspaces, we can integrate the workspace(s) with the repository.
We will add the development workspace (CI/CD Dev) to the “develop” branch of the repository and commit our changes to it. After that we will merge the “develop” branch with the “main” branch. Finally, we will deploy the fabric items from the “main” branch to the production workspace (CI/CD Prod) using a CI/CD pipeline.
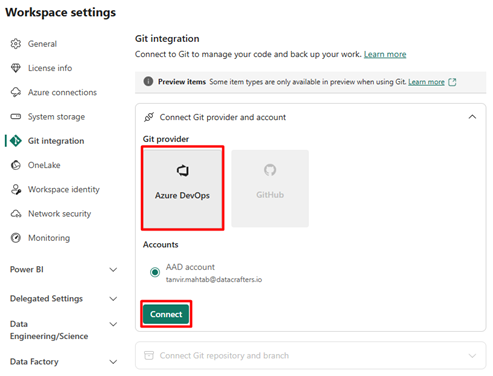
To do this, first we will click on the “Workspace Settings” option from the upper right corner of the “CI/CD Dev” workspace.
It will open a window from where we need to select the “Azure DevOps” as the Git provider from the “Git integration” section; then click “Connect”.
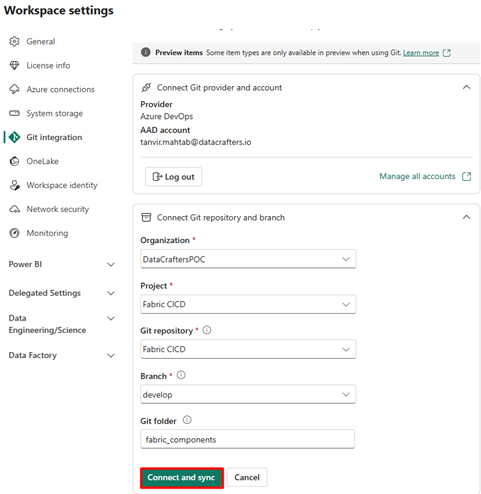
A new window will pop up where we need to input the details of the Azure DevOps project and repository and click on the “Connect and sync” button, as follows.
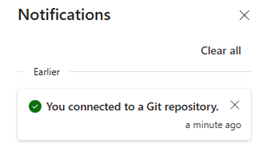
If the connection is successful, we will get a confirmation notification.
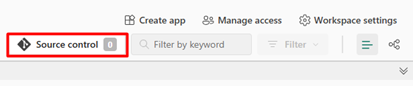
Consequently, the “Source Control” button will be visible on the upper right corner of the workspace.
Development and Version Control in Microsoft Fabric CI/CD
Development in Microsoft Fabric is out of scope of this post. For demo purpose, we will create a simple “Test Notebook” notebook that contains a “Hello world” Python code.
The newly created notebook will have “Uncommitted” status. To commit the changes, we’ll click on the “Source control” button.

This will open a new window where we need to select the changes that are supposed to be committed. We will also put a relevant commit message and click the “Commit” button.
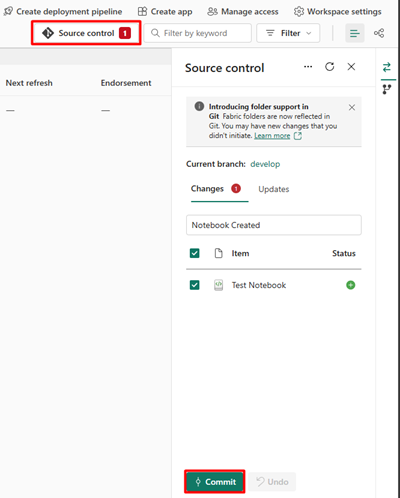
If the commit is successful, we will see “Synced” as the Git status for the relevant items. Also, the number of uncommitted changes will be reflected in the “Source control” button.

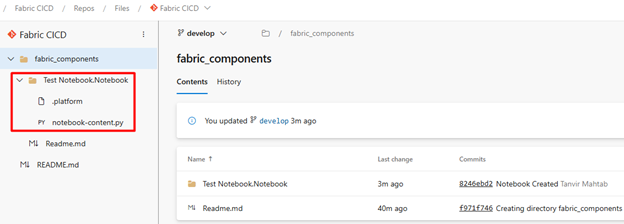
The new changes/contents will be available in the Azure DevOps repository with some other metadata/configuration files.
Building a CI/CD Pipeline in Microsoft Fabric
Our Fabric item (notebook) is available in the “Fabric CI/CD” repository. If we are confident enough to deploy the items to the production environment (CI/CD Prod), we can accomplish that using a CI/CD pipeline.
It is noticeable that, we have committed changes to the “develop” branch of the repository. But it is not good practice to deploy the changes to the production directly from the development branch.
Therefore, we will push the changes from the “develop” to the “main” branch by creating a pull request.
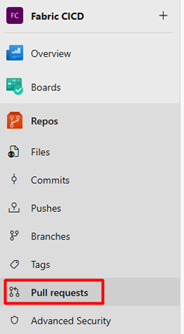
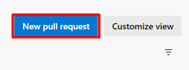
There are multiple ways to create a pull request in Azure DevOps. One approach is– we go to the “Pull requests” section from the left pane and then click the “New pull request” button.
This will open the new pull request window where we need to specify the merge direction (Here, we want to merge “develop into main”). There are some other options available here for title, reviewers, work items, tags etc.
After providing the required information, we can click on the “Create” button to create the pull request.
When the responsible person to review and approve the pull request approves it, the changes will be available from the “develop” to the “main” branch.
Now we need to create an Azure pipeline (CI/CD) that will deploy the fabric items to the “CI/CD Prod” workspace. The pipeline will be triggered as soon as the changes from the “develop” branch are merged with the “main” branch.
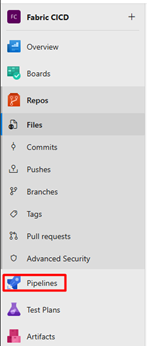
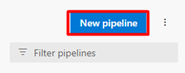
To create a pipeline, we will go the “Pipelines” section of the “Fabric CI/CD” project from the left pane, then will click on the “New pipeline” button.
In the next page we need to specify the location of the fabric items that are supposed to be deployed.
We will select “Azure Repos Git” from here.
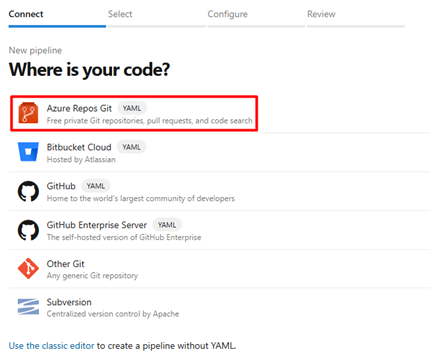
Then, we need to select the repository. In our case, it is “Fabric CI/CD”.
In the next page we will select the “Starter pipeline” option. It will give us a minimal pipeline that we can customize to build and deploy our code.
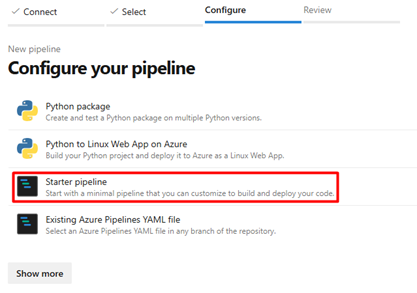
Following is the sample pipeline given.
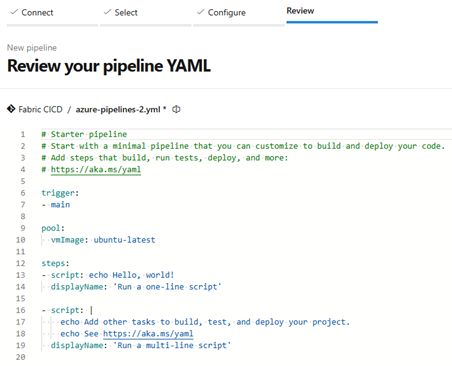
Let’s replace this code with the following one to create our own pipeline.
trigger: none
variables:
  # Your Fabric workspace ID
  workspace_id: <'Your workspace ID'>
  # Name of your ARM service connection configured for OIDC
  azureSubscription: <'Your service connection name'>

stages:
  – stage: Publish
    displayName: Publish to Fabric
    jobs:
      – job: PublishJob
        displayName: Authenticate & Publish
        pool:
          vmImage: 'ubuntu–latest'
        steps:

          # 1) Select Python 3.10
          – task: UsePythonVersion@0
            displayName: 'Use Python 3.10'
            inputs:
              versionSpec: '3.10'

          # 2) Login via federated SPN and export OIDC token + IDs
          – task: AzureCLI@2
            displayName: 'Login via federated SPN'
            inputs:
              azureSubscription: '$(azureSubscription)'
              addSpnToEnvironment: true
              scriptType: bash
              scriptLocation: inlineScript
              inlineScript: |
                echo "$idToken" > $(Pipeline.Workspace)/federated_token.txt
                export AZURE_FEDERATED_TOKEN_FILE="$(Pipeline.Workspace)/federated_token.txt"
                # these three envs power the EnvironmentCredential federated flow
                echo "##vso[task.setvariable variable=AZURE_CLIENT_ID]$servicePrincipalId"
                echo "##vso[task.setvariable variable=AZURE_TENANT_ID]$tenantId"
                echo "##vso[task.setvariable variable=AZURE_FEDERATED_TOKEN;issecret=true]$idToken"
                echo "##vso[task.setvariable variable=AZURE_FEDERATED_TOKEN_FILE]$AZURE_FEDERATED_TOKEN_FILE"

          – bash: |
              az login ––service–principal –u $(AZURE_CLIENT_ID) ––tenant $(AZURE_TENANT_ID) ––allow–no–subscriptions ––federated–token $(AZURE_FEDERATED_TOKEN)
            displayName: 'Login Azure'
          # 3) Install Azure Identity SDK + Fabric CICD client
          – script: |
              python –m pip install ––upgrade pip
              python –m pip install azure–identity fabric–cicd
            displayName: 'Install dependencies'

          # 4) Run Python publish, mapping vars into the env for DefaultAzureCredential
          – task: PythonScript@0
            displayName: 'Publish to Fabric'
            env:
              AZURE_CLIENT_ID:       $(AZURE_CLIENT_ID)
              AZURE_TENANT_ID:       $(AZURE_TENANT_ID)
              AZURE_FEDERATED_TOKEN: $(AZURE_FEDERATED_TOKEN)
              AZURE_FEDERATED_TOKEN_FILE: $(AZURE_FEDERATED_TOKEN_FILE)
              WORKSPACE_ID:          $(workspace_id)
              PIPELINE_WORKSPACE:    $(Pipeline.Workspace)
            inputs:
              scriptSource: inline
              script: |
                import os
                from azure.identity import DefaultAzureCredential, WorkloadIdentityCredential
                from fabric_cicd import FabricWorkspace, publish_all_items

                # DefaultAzureCredential will pick up AZURE_FEDERATED_TOKEN for OIDC flow
                cred = WorkloadIdentityCredential()

                ws = FabricWorkspace(
                    workspace_id         = os.environ["WORKSPACE_ID"],
                    repository_directory = os.environ["PIPELINE_WORKSPACE"],
                    item_type_in_scope   = ["DataPipeline", "Notebook", "Environment"],
                    token_credential     = cred
                )

                print(f"Authenticated to Fabric workspace: {ws}")
                publish_all_items(ws)
Let’s name the pipeline as “Fabric CI/CD” and save it.
Note: Here, we have used a service connection. You should create one accordingly. Also, you need to modify the above code with your own relevant information.
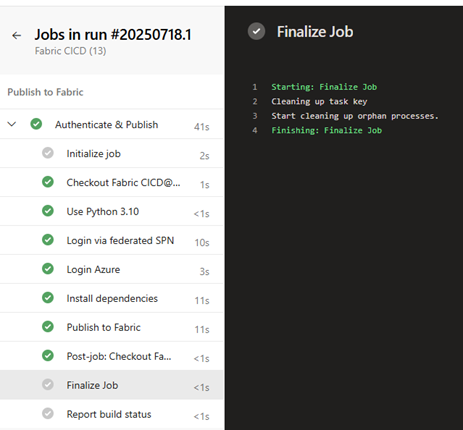
Now that our pipeline is ready, we want to run it. To run the pipeline, we will click the “Run” button.
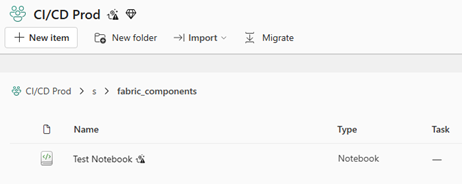
If all the required steps of the pipeline run successfully (as follows), the Fabric item (in our case it’s a notebook) will be deployed to the “Ci/CD Prod” workspace.
Final Remarks
Setting up a CI/CD pipeline in Microsoft Fabric may take some effort initially, but the payoff is huge – faster deployments, reliable source control, and scalable workflows. By combining Azure DevOps, Git integration, and the Fabric CI/CD Python library, you can modernize your Fabric environment and confidently move from development to production.
If your team is ready to streamline deployments, explore our resources on Microsoft Fabric automation.